Connecting layer 3 switches to routers isn't just a skill—it's practically a rite of passage for anyone stepping into the fascinating world of network administration. The ability to make these connections plays a crucial role when it comes to scaling your network or allowing different VLANs to talk to each other. As you hopefully already know, becoming proficient in this area means diving deep into the practicalities and subtleties of the process. In this guide, we’ll unpack everything you need to know about linking layer 3 switches with routers, ensuring you’re equipped with the right tools, insights, and strategies to make your network not just functional but truly resilient. By the time we wrap this up, you should feel prepared and confident to tackle this task head-on.
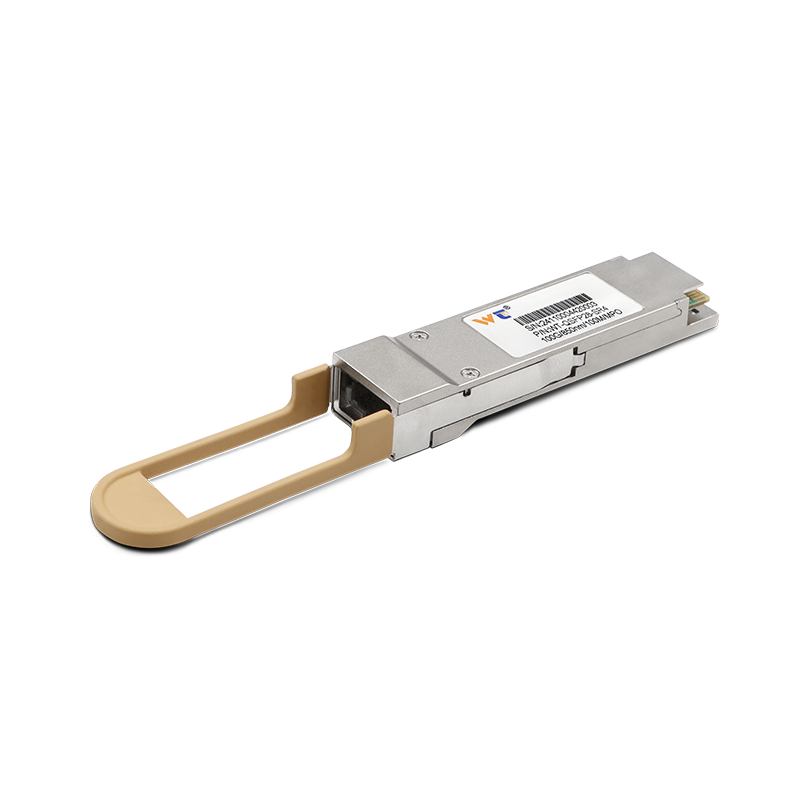
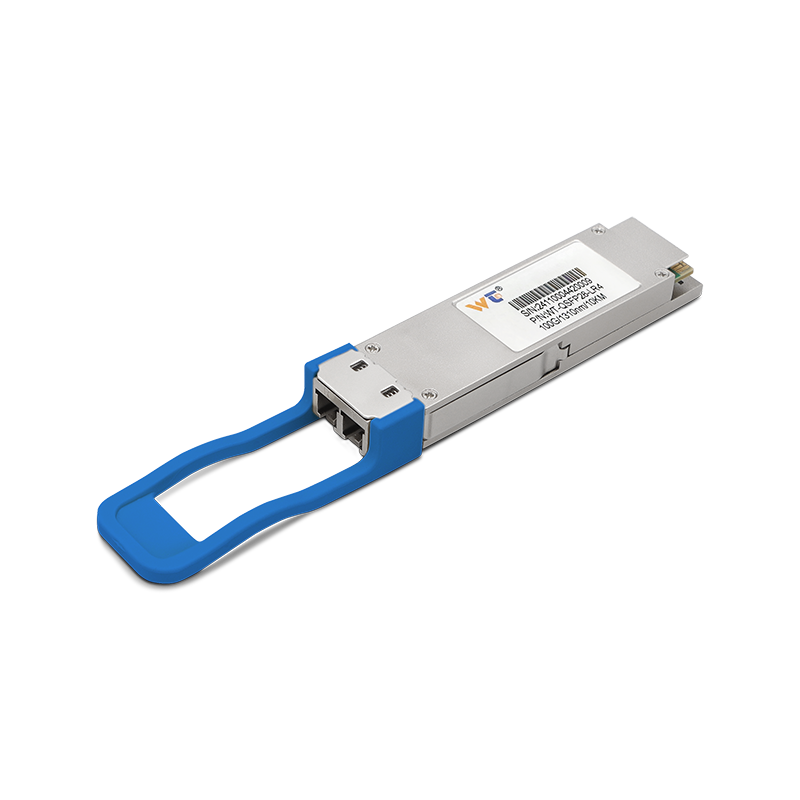
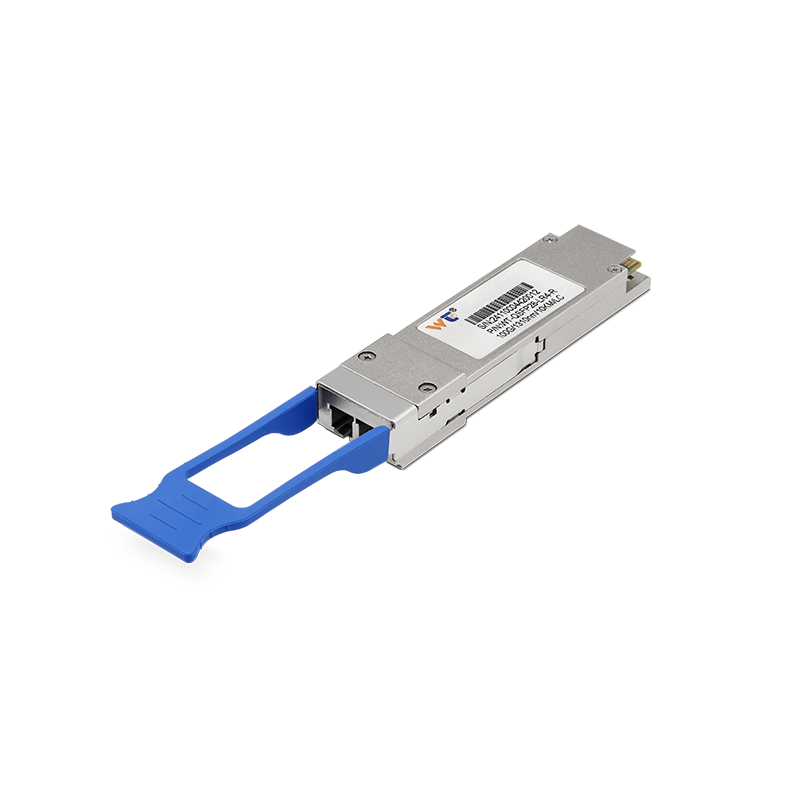
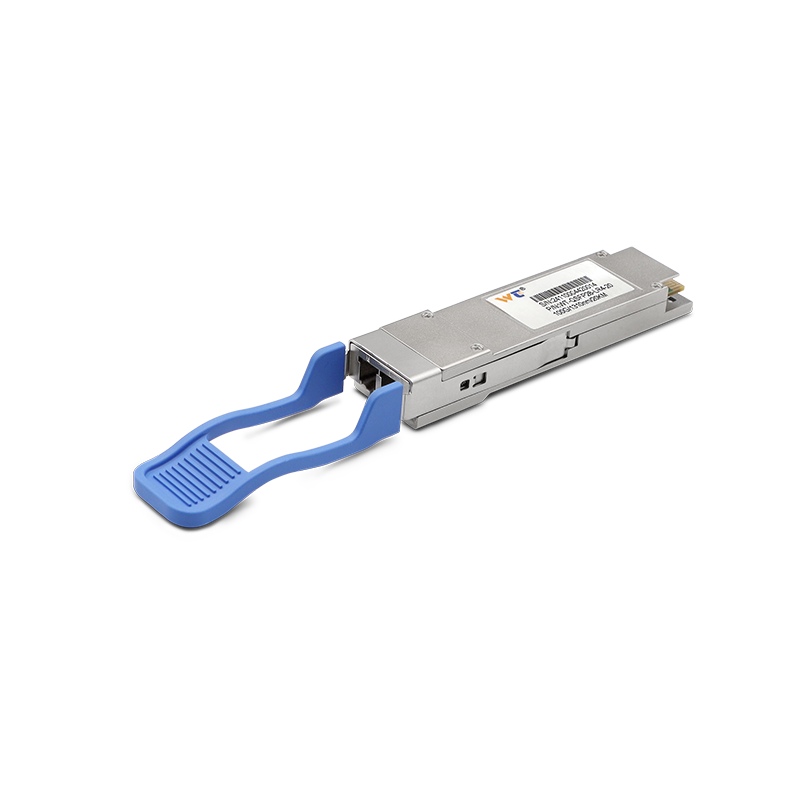
So, how do we get started? Well, the initial steps are pretty fundamental, but they are vital. First off, check that you're armed with the correct hardware. This means having the right cables—whether that's Ethernet or fiber optic—and a router that can handle the required protocols and configurations. Once you've got that figured out, it’s time to configure the VLAN interfaces on your layer 3 switch. You’ll need to assign IP addresses to these VLANs so that the switch can actually route traffic within its network. After that, you’ll connect the layer 3 switch to your router through an appropriate port. Depending on your network demands, this could mean using a trunk link to support multiple VLANs or a single access link for a straightforward setup.
Now, let’s dig a little deeper into the importance of this connection. Layer 3 switches are unique because they merge the functionalities of traditional switches and routers. The real kicker? They can route packets between VLANs at lightning speed, which is absolutely critical for high-performance networks. Imagine being in an enterprise environment where traffic is constantly growing—being able to make efficient routing decisions within the layer 3 switch means less latency and a noticeable boost in overall network performance. This connection not only streamlines data traffic but also manages how your network interacts with the outside world. For complex applications and services, being able to optimize this flow is absolutely indispensable.
Getting the hang of connecting these devices also involves wrapping your head around a few key concepts. To begin with, VLANs (Virtual Local Area Networks) are all about splitting your networks to improve both performance and security—think of them as separate broadcasting zones. When we mention routing, we're talking about the traffic control system for forwarding packets between networks. And we can’t forget IP addressing, which is how we identify devices. You’ll encounter concepts like static routing—where you manually configure routes—and dynamic routing, where protocols like OSPF or EIGRP help you find the best paths automatically. Having a strong grip on these principles will serve you well as you dive into this implementation.
Alright, let’s break this down into simple steps for connecting a layer 3 switch to a router:
- Gather Required Equipment: Make sure all necessary cables and tools are on hand.
- Configure VLANs: Set up your VLAN interfaces on the layer 3 switch and assign those all-important IP addresses.
- Configure IP Routing: If your switch isn’t already enabling IP routing, flip that switch (pun intended!).
- Connect Devices: Hook up your layer 3 switch to the router using suitable Ethernet or fiber optic cables.
- Set Up the Router: Configure the router’s IP addressing and routing protocols to match.
- Test Connectivity: Finally, double-check that devices across different VLANs can indeed communicate through the router.
While this guide lays a solid foundation, it’s vital to think about what happens when things get a bit more complicated. If you’re integrating multiple switches or adding extra routers for redundancy, what protocols are necessary to maintain smooth communication? This is a great springboard for diving into advanced techniques like link aggregation or spanning tree protocols, which can take your network’s resilience and performance to the next level.
By setting up your layer 3 switch with the router effectively, you can expect an uptick in network performance alongside smarter routing capabilities, ultimately leading to a sturdier infrastructure overall.
Q: What is the main advantage of using a Layer 3 switch over a traditional switch in routing?
A: The primary advantage is the Layer 3 switch's ability to route data at wire speed between VLANs, optimizing performance and reducing latency.
As you embark on this connection journey, let’s not forget one crucial point—practice makes perfect. If possible, get yourself a lab setup where it’s okay to make mistakes. Use this environment to play with various configurations and troubleshooting strategies; every little experiment will enhance your skills. Before long, you’ll cultivate a solid foundation to tackle real-world networking challenges.
In closing, mastering the connection between layer 3 switches and routers is more than merely ticking a technical box; it’s your gateway to cultivating a high-performing network. Follow the laid-out steps and really grasp the underlying concepts, and you’ll equip yourself with the knowledge needed to navigate your networking career confidently. The networking world is ever-evolving, so embrace lifelong learning to stay on the cutting edge. Dive into your network practices with enthusiasm and curiosity; after all, this dynamic field is all about exploration and growth.


